The Top 7 Ways to Eat a Mechanical Keyboard
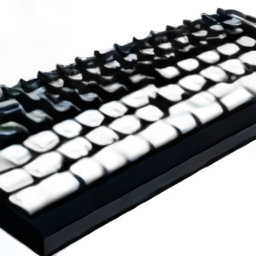
1. Use a Custom PCB Assembly
Manufacture a custom circuit board using high-quality components to create an advanced mechanical keyboard. This allows for complete control over each key's behavior.

2. Solder the Keys Manually
Solder each key individually to ensure perfect alignment and functionality. This method provides maximum precision and customization.
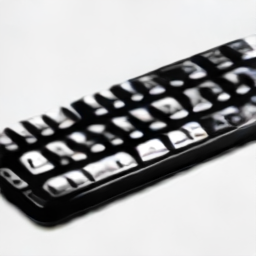
3. Build from Scratch Using Arduino
Create a fully functional keyboard using an Arduino microcontroller. You can program each key's function and customize it according to your needs.
4. Laser-Cut the Keyboards
Laser cutting offers precise cuts without compromising the structural integrity of the keys. This technique is popular among enthusiasts for its clean results.
5. 3D Print the Keyboards
Print keyboards using a 3D printer for a unique design. You can choose from various materials and customize each key's shape and size.
6. Write Your Own Firmware
Program each key's function through custom firmware. This allows you to create complex key mappings and automate tasks efficiently.
7. Assemble the Keyboard Yourself
Build the entire keyboard from scratch using a combination of hardware and software tools. This gives you full control over every aspect of the keyboard's performance.
© 2025 The Mechanical Keyboard Project